How to Paint Tin Cans for Creative Crafts and Recycling Ideas?
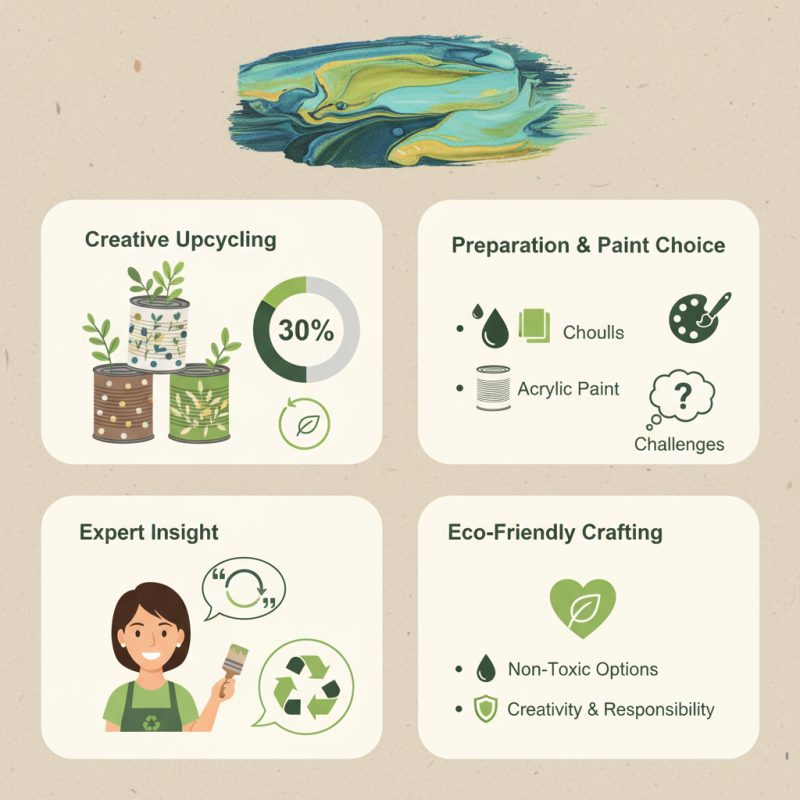
painting tin cans is a popular craft that bridges creativity and sustainability. According to a 2022 report from the Craft and Hobby Association, approximately 30% of crafters engage in upcycling materials like tin cans. This data highlights the growing trend of eco-friendly crafts. Experienced artist and recycling advocate, Sarah Johnston, emphasizes, “Painting tin cans opens up endless possibilities for creativity while reducing waste.”
The process of painting tin cans involves several practical steps. First, ensure the cans are clean and dry. Choosing the right paint is also crucial. Acrylic paint is often preferred for its adherence and vibrant colors. However, many crafters have faced challenges, such as peeling paint or uneven finishes. These issues can stem from inadequate preparation or incorrect paint choices.
Furthermore, while painting tin cans can enhance decorative aesthetics, it’s essential to approach this craft thoughtfully. Not all paints are environmentally friendly, and makers should consider using non-toxic options. Reflecting on these details can lead to better outcomes in crafting. It's vital to strike a balance between creativity and responsibility while enjoying the process of painting tin cans.
Materials Needed for Painting Tin Cans
Painting tin cans can be a fun and eco-friendly craft. To start, gather your materials. You will need empty tin cans, acrylic paint, brushes, and water for cleaning. Sealant can help to protect your paint job too. Some people use sandpaper to smooth the surface. This step can enhance paint adhesion, but it’s not necessary for everyone.
Research indicates that crafting with recycled materials promotes sustainability. According to a study by the Environmental Protection Agency, recycling can reduce landfill waste by 30%. Painting tin cans allows for creative expression while contributing to this environmental goal. Ensure your workspace is well-ventilated to avoid any unwanted fumes from paint.
While it’s easy to get excited about colors and designs, not every attempt will be a masterpiece. You may encounter drips, uneven coverage, or even paint that doesn’t adhere well. Learning from these mishaps is essential. Experimenting can lead to unexpected yet beautiful outcomes. Each flaw can tell a story or become part of the unique charm of your creation.
Preparing Tin Cans for Painting
Preparing tin cans for painting is an exciting step in your creative crafting journey. Start by gathering all necessary materials. Make sure you have clean cans, water, soap, sandpaper, and a cloth. Cleaning the cans is essential. Remove any labels and residue, as they can affect paint adhesion. Use warm, soapy water and rinse thoroughly.
Next, dry the cans completely before sanding. A light sanding will help the paint stick better. Focus on roughening the surface slightly. Pay attention to the edges and any sharp areas. This prevents cuts when handling the cans later. Wipe away any dust with a clean cloth after sanding. This ensures a smooth painting surface.
Tips: Always wear gloves when handling cans to avoid sharp edges. If you're unsure about paint choices, consider testing on a small area. Take your time during preparation. It’s okay to make mistakes. Each can offers a chance to explore creative ideas. Reflect on your techniques and adjust as needed. Prepare your space well, as it contributes to your final results. Enjoy the process!
Step-by-Step Guide to Painting Techniques
Painting tin cans is a fantastic way to engage in creative crafts while promoting recycling. A recent report from the Environmental Protection Agency highlights that recycling one aluminum can saves enough energy to run a TV for three hours. This significant energy saving demonstrates how simple craft projects can have a broader environmental impact.
To start, clean the cans thoroughly to remove any labels and residue. A clear acrylic primer can enhance paint adhesion. Use spray paint or acrylic paints for vibrant colors. Keep an eye on your technique; overspray can ruin the clean look. Multiple thin layers yield better results than a single thick layer. This is where the fun begins, but mistakes are common. Uneven coats or drips might happen. Reflect on these imperfections to improve your future projects.
Adding details like stenciled designs or patterns can elevate your can crafts. Consider using painter’s tape to create geometric designs. It’s essential to let each layer dry completely before adding another. This ensures a smooth finish but can be time-consuming. Crafting is not about perfection, but expression. Embrace the learning curve, and enjoy the process while recycling!
How to Paint Tin Cans for Creative Crafts and Recycling Ideas
| Step | Materials Needed | Painting Technique | Drying Time | Project Ideas |
| 1 | Tin can, acrylic paint, paintbrush, clear sealant | Base coat with acrylic paint | 1-2 hours | Planters, candle holders |
| 2 | Sponges, stencil brushes, additional colors | Sponge painting and stenciling | 1 hour | Decorative storage, wall art |
| 3 | Twine, washi tape, brushes | Wrap and embellish | 1 hour | Gift holders, desk organizers |
| 4 | Chalk paint, paintbrush, sealant | Chalk painting for a matte finish | 2 hours | Message holders, rustic decor |
Creative Ideas for Using Painted Tin Cans
Painted tin cans can become stunning home decor pieces. They can be transformed into vibrant planters, stylish storage, or personalized gift holders. In the United States, over 79 million tons of aluminum are recycled each year. This creates opportunities for crafting with materials that would otherwise end up in landfills.
Crafting with tin cans fosters creativity while promoting recycling. Simple techniques can yield amazing results. For instance, use bright acrylic paints to liven up a dull can. Add patterns with stencils or sponge painting methods. The visual texture enhances the can's appearance. Research indicates that up to 20% of consumers engage in DIY crafts, showcasing a growing trend in creative recycling.
Consider using painted cans to organize your workspace. A few bright cans can hold pens, scissors, or paperclips. This not only helps in decluttering but also adds a personal touch to your office.
Some might struggle with paint adhesion or uneven surfaces, leading to imperfections. These little flaws, however, can add character. Embracing these quirks can make each piece unique and truly yours.
Tips for Sealing and Finishing Your Project
Painting tin cans can be a fun way to express creativity and promote recycling. However, sealing and finishing are crucial for a durable and attractive project. Two common sealing options include acrylic sealants and clear spray finishes. According to a study by the American Coatings Association, using high-quality sealants can enhance the longevity of painted surfaces by up to 50%.
When applying a sealant, ensure the paint is completely dry. Uneven sealing can lead to peeling or fading over time. For best results, consider applying multiple thin layers. This technique can offer better protection than a single thick coat. It's also important to choose the right finish. Matte finishes may hide imperfections, while glossy options provide a more polished look.
Remember, imperfections are part of the process. Waiting too long between coats can lead to adhesion problems. Trying different techniques might reveal surprising textures and depths. Keeping the workspace clean is essential to prevent dust from settling on wet paint. Lastly, always test a small area first. This ensures compatibility between materials before committing to the entire project.
Creative Crafts Using Painted Tin Cans

