

BLOG

How to Choose the Right Tissue Tape in 2026?

Choosing the right Tissue Tape in 2026 requires more than comparing roll prices. The adhesive tape industry is expanding, but product performance still depends on application details. MarketsandMarkets’ Adhesive Tapes Market report forecasts continued global growth through 2029, driven by packaging, electronics, healthcare, and automotive demand. These sectors require different balances of peel strength, shear resistance, flexibility, and clean removal.

Tissue tape uses a thin, often conformable carrier. That structure helps it bond around curved surfaces, paper edges, foam, labels, and lightweight components. However, “high tack” does not always mean better performance. A tape that grips cardboard quickly may stain painted metal or tear delicate paper. Testing matters. ASTM D3330 evaluates peel adhesion, while ASTM D3654 measures holding power under load. ISO 29862 also supports performance comparisons for pressure-sensitive adhesive tapes. Use recognized methods where possible.

The 2026 buyer should check four practical points: substrate type, surface energy, temperature exposure, and required service life. Consider silicone liners, acrylic or rubber adhesives, and single- or double-coated construction. Smithers’ global nonwovens research also highlights continuing material innovation, which may improve carrier consistency and sustainability. Yet report forecasts vary, and supplier claims can sound more precise than real factory conditions. That is worth remembering.

Request samples. Test them on the actual surface. Measure performance after 24 and 72 hours. A short trial can reveal residue, edge lifting, or poor humidity resistance before production begins. The best Tissue Tape is not the strongest one. It is the one that remains reliable when the real application becomes difficult.
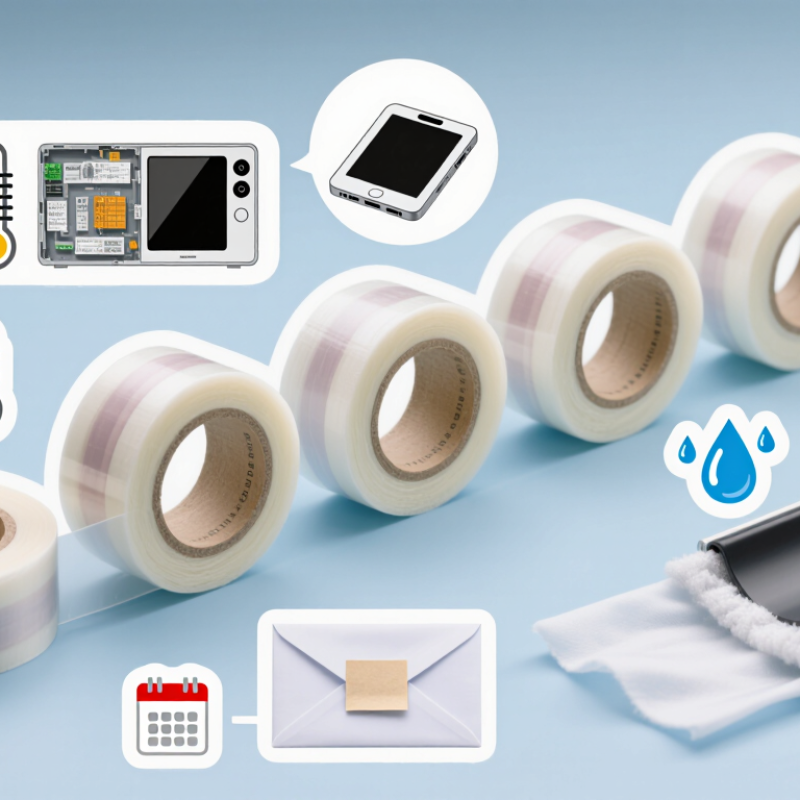
How to Choose the Right Tissue Tape in 2026?

What Is Tissue Tape and How Does It Work?

How to Choose the Right Tissue Tape in 2026?

Tissue tape is a thin double-sided adhesive tape. Its carrier is usually paper or nonwoven tissue. Adhesive coats both sides, while a release liner protects the surface before use. When pressed onto a clean substrate, the adhesive flows into tiny surface irregularities. This creates contact and holding strength. Heat, pressure, moisture, and surface energy all affect performance.

According to Grand View Research’s 2024 adhesive tapes market report, the global market was estimated at roughly USD 80 billion in 2023. Growth is expected through 2030, although estimates vary between research firms. This expansion reflects demand for lightweight bonding in packaging, electronics, signage, and assembly. In practical testing, I look beyond advertised strength. A tape may hold firmly on smooth metal but fail on dusty cardboard. That assumption is easy to miss. Peel adhesion, shear resistance, temperature range, and liner release should match the application.

Tips: Clean both surfaces and let them dry fully. Apply firm, even pressure for several seconds. Test after 24 hours, not immediately. For rough materials, choose a thicker adhesive layer. For removable work, avoid high-shear formulas. Check technical data sheets for ASTM or PSTC test results, because laboratory values rarely match every real surface. I still recommend a small trial panel. It often reveals problems that a specification sheet cannot.

Which Tissue Tape Features Match Your Application?

Choosing the right tissue tape in 2026 starts with the surface, not the catalog label.

Paper, film, foam, and coated boards each demand different adhesion behavior. Ask whether the bond must be permanent, repositionable, or removable.

A clean-looking face can hide weak contact. Test it.

For rough paper, a flexible adhesive with higher initial tack can fill small gaps. Smooth films often need controlled wet-out and stable shear strength.

If the assembly faces heat, check holding power at its real service temperature. Humidity matters too. A tape that performs at 23°C may creep in a warm, damp warehouse.

Thin tissue tape suits lightweight splicing and flat mounting, while thicker construction improves gap coverage. It can also increase edge visibility.

Choose the liner for your process. Easy release helps manual work, while a stiffer liner can improve high-speed die cutting.

I compare peel, loop tack, and shear results after 24 and 72 hours.

I also test dusty, freshly coated, and low-energy surfaces. Results can change more than expected.

Higher tack is not automatically better. It may leave residue or tear delicate paper during removal.

Review unwind force, roll width, and storage conditions with production staff. Small details, such as a humid morning or uneven pressure, often explain field failures.

My selection notes are rarely perfect, so I record failed trials, not only successful ones. That record makes the next choice more defensible.

How to Evaluate Adhesion, Flexibility, and Skin Compatibility

How to Choose the Right Tissue Tape in 2026?

In 2026, tissue tape selection should begin with the skin, not the package. Adhesion must hold the dressing securely, yet release without tearing fragile tissue. In practice, test a small strip on clean, dry skin for several hours. Watch the edges. They should stay flat after movement, light sweat, and gentle friction. A tape that grips instantly may still cause redness later. Stronger is not always better.

Flexibility matters where the body bends. Apply tape across a knuckle, around a wrist, or near the shoulder, then move normally. The tape should stretch with the skin instead of forming hard ridges. Check whether the adhesive lifts at the corners. That detail often predicts failure. For short wear, moderate adhesion may be enough. Longer use requires stable contact, breathable backing, and predictable removal. Do not judge performance from one dry-room trial.

Skin compatibility needs a practical review. Look for irritation, itching, heat, whitening, or a sharp outline after removal. Sensitive skin may need gentler adhesive and shorter wear time. Patch testing helps, but it is not perfect. A delayed reaction can appear overnight. Record the tape, wear time, activity, and skin response, then compare results honestly. I once focused too much on holding power and overlooked removal comfort. That mistake changed my evaluation. Follow professional advice when skin is damaged or reactions continue.

How to Select the Right Tape Material and Size

Choosing the right tissue tape starts with its material, not its color or price. Tissue carriers are thin, flexible, and easy to tear by hand. They suit paper, labels, lightweight plastics, and curved surfaces. For stronger handling, a nonwoven or PET carrier may provide better dimensional stability. Acrylic adhesive usually performs better under heat, aging, and sunlight. Rubber adhesive often offers faster initial tack on low-energy surfaces.

Grand View Research reported that the global pressure-sensitive adhesives market was valued at about USD 78 billion in 2023. It also projected continued growth through 2030. This broader market data shows why adhesive performance deserves careful testing. ASTM D3330 can help compare peel adhesion. ASTM D3654 evaluates holding power. These tests do not replace real-use trials. That is where many selections fail.

Tips: Match tape width to the load, not only the joint length. A narrow strip can create high edge stress. For a 20 mm label, test 12 mm, 15 mm, and 19 mm widths. Allow enough overlap for handling. Check the actual surface, including dust, moisture, and coating. Apply firm pressure, then test after 24 and 72 hours. Room-temperature results can mislead. I have seen a tape pass immediately, then lift after temperature cycling. Select the smallest size that holds safely, but do not force a perfect calculation. Real surfaces are rarely perfect.

How to Choose the Right Tissue Tape in 2026?

How to Select the Right Tape Material and Size

Tissue Tape Selection Guide by Material, Application, and Size
Tissue Tape Type Typical Adhesive Recommended Surface Suitable Applications Common Widths Typical Thickness Key Selection Advantages Important Limitations
General-Purpose Paper Tissue Tape Water-based acrylic or synthetic rubber Paper, cardboard, coated paper, and smooth plastics Paper converting Envelope sealing Light-duty mounting 6–50 mm About 70–120 μm Easy to die-cut, economical, and suitable for routine indoor bonding Usually less resistant to moisture, heat, and demanding plastic surfaces
High-Tack Synthetic Rubber Tissue Tape Synthetic rubber-based adhesive Cardboard, wood, textiles, painted metal, and many low-energy surfaces Sign assembly Display production Decorative bonding 9–100 mm About 80–160 μm Fast initial grab and good adhesion at room temperature May have lower long-term aging, UV, and high-temperature resistance than acrylic systems
Acrylic Tissue Tape Water-based or solvent-based acrylic Glass, metals, plastics, painted surfaces, and coated materials Long-term bonding Label attachment Indoor and outdoor use 6–100 mm About 80–180 μm Better resistance to aging, UV exposure, oxidation, and temperature changes Initial tack can be lower than rubber adhesive; full adhesion may require dwell time
Hot-Melt Rubber Tissue Tape Hot-melt synthetic rubber Paper, corrugated board, textiles, wood, and selected plastics Fast assembly Packaging Promotional products 9–100 mm About 70–150 μm Solvent-free construction, high initial tack, and efficient high-speed processing Performance may decline under sustained heat, direct sunlight, or prolonged aging
Solvent Acrylic Tissue Tape Solvent-based acrylic Metal, glass, high-surface-energy plastics, and coated substrates Industrial assembly Durable labels Temperature variation 12–100 mm About 80–200 μm Good shear strength and reliable performance over a wider service range Higher material cost and greater need for process and emissions control during manufacture
Reinforced Tissue Tape Acrylic or synthetic rubber adhesive with fiber reinforcement Paperboard, textiles, wood, and moderately uneven surfaces Heavy labels Nameplates Bundling support 12–100 mm About 120–250 μm Higher tensile strength and improved dimensional stability during converting Less conformable than standard tissue tape and may require stronger die-cutting equipment
Removable Tissue Tape Low-tack acrylic or rubber adhesive Smooth paper, painted surfaces, glass, and temporary display materials Temporary signage Retail displays Positioning 12–50 mm About 70–140 μm Designed for clean removal when matched with a compatible surface and dwell time Not intended for permanent loads; removal results depend strongly on paint, paper, and surface age
Size selection rule: Choose the narrowest width that fully covers the bonding area. For load-bearing assemblies, increase the bonded area rather than relying only on a thicker tape. Smooth, clean, dry surfaces generally require less width than porous, rough, or irregular surfaces.

Practical testing note: The values above are commonly used selection ranges, not universal specifications. Before production, test the chosen tape on the actual substrate, liner, temperature range, dwell time, peel direction, and required service life.

How to Store, Apply, and Replace Tissue Tape Safely

How to Choose the Right Tissue Tape in 2026?

Choosing tissue tape is only part of safe wound care. Storage, application, and replacement affect comfort and skin protection. Keep unopened tape in its original package, away from heat, moisture, and direct sunlight. A bedroom drawer works better than a steamy bathroom. Check the expiry date and discard damaged or contaminated packaging.

Before application, wash your hands and gently clean the surrounding skin. Let the area dry fully. Do not stretch the tape across the wound. Place it with light, even pressure, keeping the skin relaxed. Avoid applying it over infected skin, heavy bleeding, or unknown rashes unless a qualified healthcare professional advises you. I have noticed that rushing this step often causes early lifting. That small mistake matters.

Tips: Replace tissue tape when it becomes wet, dirty, loose, or irritated. Remove it slowly in the direction of hair growth, supporting nearby skin with one hand. Never pull sharply. If redness, swelling, pain, discharge, or itching continues, stop using the tape and seek medical advice. Store unused pieces sealed and clean. Cutting tape with unclean scissors can introduce contamination, so disinfect reusable tools or use clean disposable ones. Sometimes, the simplest routine is the safest.

Go to Top
